A DIY home library built-in adds a lot of character to a blank wall, but it's also incredibly functional, especially with cabinets underneath for storage!
 This "project" has been on my to-do list for quite awhile. A year, maybe even two. I wouldn't say we knew exactly what we wanted to do with the "sitting room", as we've come to call it, when we first moved in, but it didn't take too long. The room was too small to be a classic "family room", so we knew we weren't going to be putting a TV in it, or anything like that. It also really only has one wall - there are two big cased openings that lead to the formal dining room and the hallway, with a third wall taken up by a very large (nearly floor to ceiling) window that looks out on the front deck and the street. It gets a ton of natural light, and is the first room you see when you walk into the house. We knew we wanted it to be welcoming and relaxing. Here's what it looked like when we bought it (from the public listing):
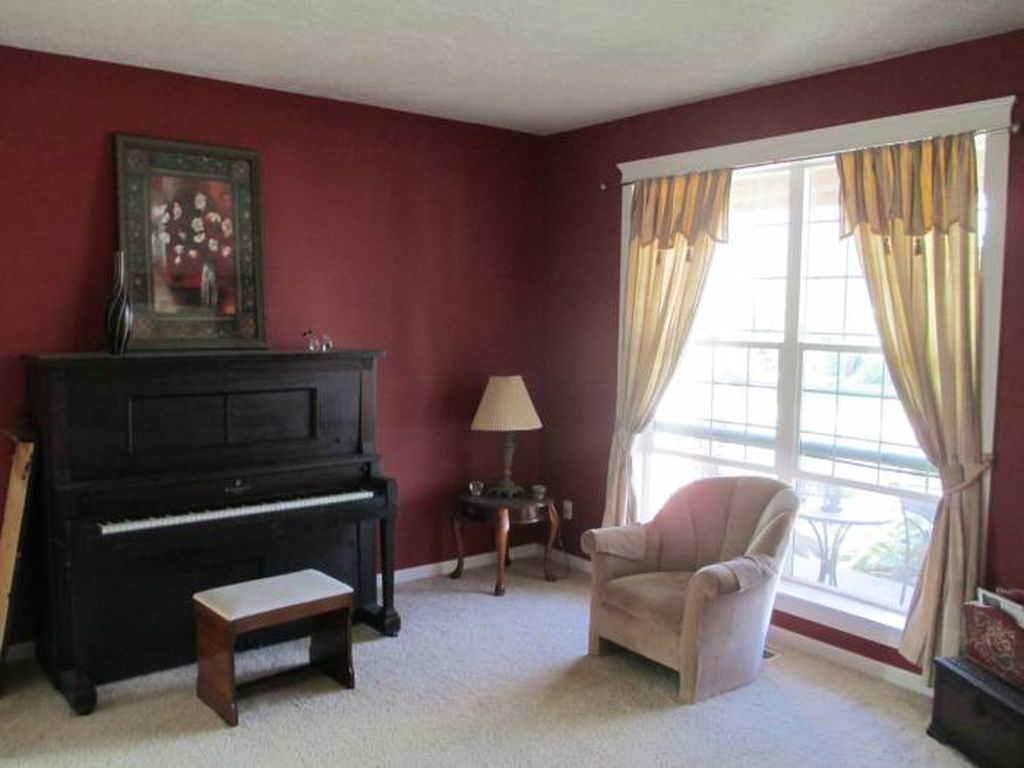
Not bad, actually. Darker than we wanted, but that was very "in" when this house was built and painted a decade ago - we had a similar color scheme in our last house, actually! We painted almost the entire house when we moved in, so the room has looked a little lighter for the last couple of years. Here's what it looked like before we started this project:
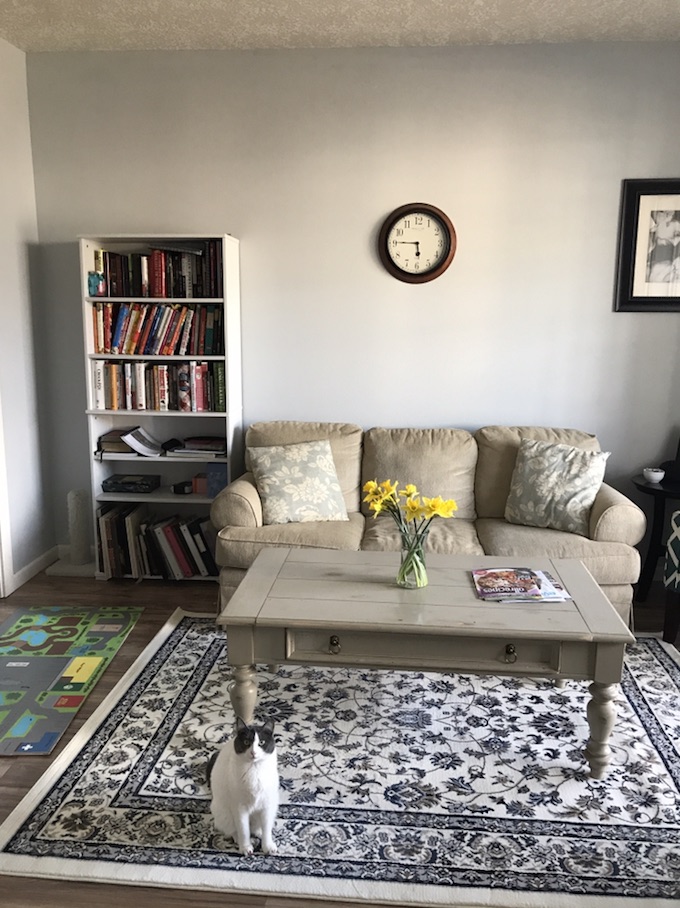
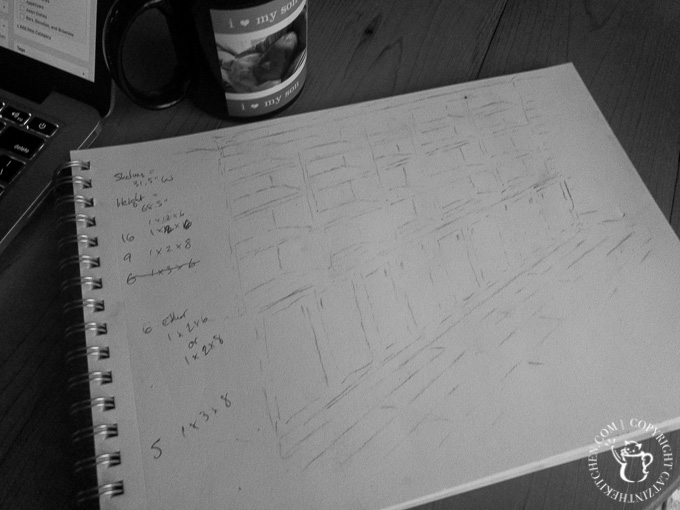
So, you can see that we had already painted the room and replaced the carpet with a hardwood-style laminate flooring. We also found a coffee table at a little local shop that refinishes secondhand furniture (some antiques, and some newer stuff with a bit of character - sadly, the shop has since closed). Otherwise, though, it was basically a couch, a small Ikea bookshelf and a clock. Functional to a degree, but not particularly interesting, and not nearly and functional as we wanted it to be! I made a quick sketch of what I thought we were going for.
Cabinet Base
I don't know if you can tell from the pictures above or not, but because of the cased opening on the left and the wall with the window on the right, the room's only solid wall has a closed-in aspect to it - it has two corners, I guess is what I'm trying to say. So, when we decided to turn this wall into a floor-to-ceiling cabinet and bookshelf built-in, it would need to fill that entire space - there was no open corner or wall I could choose to end on. That didn't completely rule out buying cabinets off the shelf from Ikea or Home Depot or Lowe's, but it would make it a lot trickier. The space was almost 14 feet wide, but not quite - a little over 13 ½ feet, actually. Lucky for me, Shanty 2 Chic posted a tutorial for DIY locker cabinets in October of 2015 - the same time I was working on renovating our formal dining room, right next door to this space! Their cabinets were seven feet long, exactly, but I figured I could build two and make some minor modifications to shorten them by a few inches to fit our space, as well as convert them from freestanding to built in.

I'm not posting a step-by-step tutorial of my process in building these cabinets for two reasons - one, Shanty 2 Chic has already done a way better job than I ever could, along with actual blueprint plans, and two, my modifications were custom to this space - it's unlikely you have a space the same exact dimensions in your home (unless you live in our housing development, of course - in which case, it probably makes more sense to stop by...ha, ha!). Suffice to say, I used their basic design, with an ever-so-slightly different door style and a lot of very minor size modifications to shave off inches.
My other big inspiration for the design of this built in was this dining room to library transformation by Sarah over at Thrifty Decor Chick. Sarah and her dad built an absolutely stunning cabinet and bookshelf built in using cabinets from Ikea, and when I first saw the finished product on Pinterest, I knew it was what we wanted. There are some funny coincidences with that project, actually - the hammered bronze lighting fixtures Sarah uses for the top of her bookshelf are the exact same ones Chels and I had installed for our outdoor lighting on our house, and the cabinet handles Chels picked out at Home Depot are almost exactly the same as the ones Sarah used, though I was the one looking at this post, not Chels...I guess they just both have good taste in cabinet hardware!

We ended up with eight cabinets, spanning about 13 ½ feet, built from pine and birch veneer plywood. They were beasts to get in the house, as they weigh about eleventy billion pounds each, but they eventually made it in. By the time I had these built out in the garage, I had a pretty clear "order of operations" worked out for the whole project:
- Install wood laminate flooring (check!)
- Build and install wall-to-wall cabinets (check!)
- Cover walls in shiplap
- Build countertop for cabinets
- Build bookcase from top of cabinets to ceiling
- Caulk and paint all the things
- Install wood ceiling
- Install crown moulding
- Caulk and paint even more things
- Read all the books!
I really, really want to install a rolling library ladder someday, too, but Chels doesn't think there is room, and she's probably right. I'm not letting go of that dream yet, though. But, hey, the cabinets were in.

Shiplap Walls
I'll just touch briefly on the shiplap. Chels has been wanting to add more shiplap to the house - yes, the fascination is born of Fixer Upper watching, of course - and I found this really nice MDF shiplap product at Home Depot, so we decided to give it a shot. It was...about the amount of work I thought it was going to be, which was...a fair amount. As I said before, the room really only has one complete wall, so in that respect, doing the entire room was easier than most, however, working around the trim for two cased openings and one very large window was pretty challenging for this amateur handyman.

For the application, I just used Liquid Nails and my Ryobi AirStrike nailer (yep, cordless nailer - seriously still my favorite tool, I think). I tried to keep my nails in the "tongue" of the board, which meant that each successive piece of shiplap covered up the nail holes from the previous piece. The result was a surprisingly clean installation (other than the junction with the trim, which was a pain). For the time being, the bottom piece of shiplap has replaced my baseboard moulding (the shiplap and the cased opening trim are the same width, so putting the baseboard back on would make it stick out beyond the trim). Not sure how I feel about that. I've seen it done before, but I would prefer to have some quarter round down there or something. It looks fine, but I may tinker with it in the future.
We decided not to paint the shiplap, at least for now. The primed color is a pleasant slightly off-white color, and very nearly matches the paint we used for the cabinets. I don't expect it will wear or age well, so I'm sure we'll paint it someday, but there's no compelling reason to do so right now. You'll see more of the installed shiplap in these pictures of the bookshelves...
Bookshelves
Before I actually started building the bookshelves, I needed to build the countertop for the cabinets (as the bookshelf would rest on this). To do this, I started with seven 1x6 pine boards, each six feet in length. Since my space was just under 14 feet wide, I knew I would need two boards (12 feet) plus a little more (slightly less than two feet) for each row of boards. Three rows of 1x6's (which are actually only 5 ½ inches wide) gave me a countertop 16 ½ inches deep, which was about perfect. The cabinets were just a hair over 16 inches deep, so my countertop would have a slight lip (which I wanted). After cutting my seventh board into three sections of the correct length (for the "under two foot" pieces in each row), I used wood glue and pocket screws to put the whole thing together. Some sanding and some stain and my not-quite-14-feet-long countertop was good to go! I secured it in place with some 1 ¼ inch wood screws from underneath (inside the cabinets).

For the built in bookshelves, I liked Sarah's (Thrifty Decor Chick) basic idea, which was to frame basic bookshelves out of common pine boards. Where she and her dad built theirs on the ground and then lifted it into place, however, I decided to build mine in place. I just didn't see myself getting a 14-foot by 6-foot bookshelf up onto the top of the cabinets without destroying, well, pretty much everything. I tacked the boards in place using my nail gun, and then used my Kreg Jig and pocket hole screws to secure the middle supports to the top and bottom. We decided to go with five shelves. From the sketch, it seemed like the right balance between providing sufficient support and avoiding a cluttered look.

The next step was to add the shelves themselves (accidental rhyming there...but I didn't fix it). Since I used 1x12's for the frame of the bookshelf, using more 1x12's for the shelves was the only thing that made sense - all of the shelves would have identical depth that way. However, while the 1x12's are pretty strong, I didn't want them bowing or, God forbid, falling - we were planning to load them down with books, after all! So, for each shelf, I built a support frame around three sides (leaving the front open, of course), with the back piece secured to two wall studs. I used 1x2's for this, and white wood screws with a very small head to avoid too much patchwork later. For the side supports, wood glue and my nail gun seemed sufficient. Once the supports were in place, I cut the shelf to fit (all of the measurements were ever-so-slightly different, naturally - did I mention I'm a total amateur?), dropped it in and secured it in place with the nail gun.

Once all of the shelves were in, I ran some nice, straight 1x2's down the six vertical supports as trim. This covered the front edge of the 1x12 supports, as well as some of the intersection of the shelves and their supports.

To cover the rest of the exposed edges and intersections, I measured and cut 1x3's to sit between the vertical trim and serve as the front trim for each shelf. My 1x3's were a little rougher than I would have liked, frankly. I sanded them down and even made a few repairs with wood putty here and there, but I still wonder if I should have gone back to the store and tried to find better ones (my own worst critic, naturally). Truthfully, the "rustic" touches on the 1x3's are hardly noticeable after all of the paint and caulking, and probably just add character...

Once the horizontal trim was up...that was it! It was on to the caulking. ALL THE CAULKING. I'm sure guys who actually build things for a living think this is a wimpy little caulking job, but to me, it was an insane amount of caulking. In reality, it was probably less than I did when I put the new floors in downstairs (much baseboard moulding = much caulking), but the cramped nature of working inside each shelf made it feel like more. I wonder now if it would have been easier to caulk as I went - for example, would the shelves have been simpler to caulk and more accessible prior to putting on the trim? Probably. Live and learn.


Finishing Touches
With the shelves in and caulked, there were basically only two things left to do. First, paint! We painted the bookshelves the same color as the cabinets (Behr's Polar Bear). After that, only the ceiling remained. In the adjoining dining room, we had installed a natural wood ceiling with a subtle white stain to it (Miniwax's Pickled Oak). In the dining room, it had been a matter of necessity, as there was a large piece of drywall that had been replaced by the previous owner due to a tub spill that created a leak. Matching the colors and patterns on the ceiling was more or less impossible, and the wood ceiling offered more character anyway. Also, it's a very cheap way to add some class to a room! Labor intensive, but cheap - something on the order of $0.75/sq ft, so, $100 or so for a small room like the dining room.
I failed to take any usable photos of putting the ceiling up in the sitting room / library, but I do have some that I never used from when we did the dining room - I used exactly the same products and process this time. First, I stained all of the boards I was going to use. This is a very light stain, but it takes some of the raw, yellow look away from the pine and gives it a bit more finish (without concealing any of the "character" we wanted).

The installation is pretty simple - mark the ceiling studs with a chalk line, and then install the boards perpendicular to the studs, using Liquid Nails and nailing through the tongue in each at an angle into the studs. The nails get (mostly) hidden by the groove of the next board. They go up fast. The biggest delays are boards with damaged tongues and/or grooves, which happens a lot, and boards that aren't straight (also happens a lot). But, did I mention they were cheap? You can afford to have a few that don't work out.

Crown moulding adds finish to the corners, where the wood meets the wall (and allows some wiggle room with the length of the boards), so I finished both rooms with some basic crown moulding (cue more caulking and painting!).

Of course, just because the building (and caulking and painting) was done, that didn't mean the project was over. Chels and I collected all of our books from all over the house, in bookshelves, in boxes, in cabinets - you name it - and added them to the shelves. We'd been squirreling away some knick knacks, so we brought some of those out, too (some are for a gallery wall we need to work on). The books are organized very roughly, and it would appear we need more! Of course, that's kind of the point, I guess - room to grow.

Some of the "knick knacks" are probably here to stay, while others will come and go, or get replaced as we find things we like better. Of course, there is seasonal decor in these photos, so that will change regularly, knowing Chels!


This was a big project for me, with a lot of new concepts that I hadn't tried before. We're very happy with how it turned out (though I, of course, see all of the flaws...), and we spend so much more time in this room now. Chels lives in here, basically!

If you have any questions about the project (or tips on things I did wrong that would make my life easier in the future...) please feel free to comment and let us know! I'm not sure what project is next (other than more flooring...yay...), but hopefully I can put lessons learned here to good use!


Lance says
Looks nice! My only advice is using paint grade plywood instead of 1x6 pine for the shelf casing would have been easier and more likely to stay straight. Maybe even cheaper.
Joshua Rief says
Hi, Lance - that's a great idea! Totally agree - that probably would have worked really well.
Sara says
I enjoyed this tutorial - but only for a few minutes. I normally don’t leave comments on these wonderful blogs which are most definitely a labor of love for the owner and author but I felt inclined to give feedback regarding your ads. The Asana videos that appear on every single photo, although short, make this blog unbearable to stick with. I understand you need your advertising but it truly is a major hindrance.
Joshua Rief says
Thank you for the feedback, Sara! We've reached out to our ad provider to see about removing or toning down this ad - certainly not the experience we want readers to have!
Shawna says
Thank you! This is exactly what I would like to do in our office space. I've never built anything that big so I'm nervous but I really want to give it a try! Thanks for sharing your details.
Joshua Rief says
Hi, Shawna - glad to hear it, and good luck! There's an argument to be made for doing it with Ikea components, if you can find the right combo for your space (sort of like we did with this pantry conversion). But this method works especially well if you need a custom build to fit your space!
Diana says
I love the ceiling boards and the cheap price. Where did yo get those and what are they called? Thanks
Joshua Rief says
Hi, Diana - thanks! It's interesting you ask that - I just finished doing the same thing for the ceiling in our master bath, so I had to go find the boards again. Needless to say, with all of the lumber price increases since I did this project (2017), they aren't as cheap as they used to be, and I couldn't find exactly the same ones, but these cedar boards at Home Depot are very similar, and still quite reasonable.
https://www.homedepot.com/p/1-4-in-x-3-5-in-x-8-ft-Cedar-Board-V-Plank-6-per-package-8203015/202106509