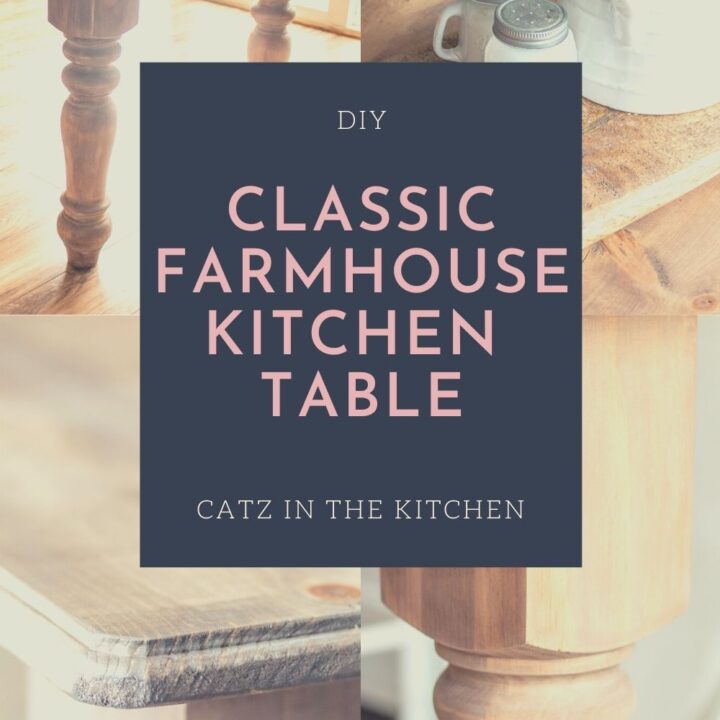
We decided to try this DIY Farmhouse Formal Dining Table project, despite having no experience with building - and we're so glad we did! It's perfect!
 Chels and I have been toying with the idea of sharing some DIY experiences with you in addition to the recipes and meal planning and random Tuesday ramblings you've come to expect from Catz. The thing is...we really don't have any experience DIY'ing. At least, not with anything major. But, we realized that's probably where most of you are. I'm sure there are a few of you out there who are just regular DIY geniuses, can build anything with enough toothpicks and bailing wire, and have a garage stocked with every tool imaginable, just like there are probably quite a few of you who are far more talented in the kitchen than we can ever hope to be!
But, claiming expertise in any particular area has never really been the point of Catz. Chels started randomly blogging recipe experiences back in 2010 with the simple objective of inspiring herself to be more creative with our family meals. Our aim hasn't changed, with the added goal of inspiring and encouraging creativity around your family tables, too! So, in that same spirit, we'll share with you a few initial forays into the rather daunting (for us) DIY space. And we'll start with our first real project - this incredible farmhouse-style dining table, built using the amazing plans published by Shanty 2 Chic. If you're not familiar, sisters Ashley and Witney are really quite brilliant when it comes to making this kind of DIY project accessible to a novice - I certainly would not have been as confident undertaking it without their great tips and clear instructions!
Now, Shanty 2 Chic was able to build this table for $110 (the Restoration Hardware table that it's based on was originally almost $3000!). While I totally buy that, your out of pocket cost will depend a lot on the tools you already have, the type of stain you choose, etc. My lumber cost was something like $75, and I could definitely see being under $110 including stain, screws, and sandpaper. However, if you need to buy a miter saw, a Kreg jig (like I did), clamps, a sander, and so on, that will obviously add up. But, like the table itself, it's an investment. I've already gotten way more than my money's worth out of the items I mentioned above, and don't regret one penny.
Here's the lumber. As someone who hasn't built many things in my life (working on changing that!), it's amazing to me that this pile of wood can become something as big and beautiful and functional as a dining room table!

My biggest revelation from this project? The Kreg jig. Now, not knowing if I was going to be able to figure it out, use it properly, or actually successfully make anything with it, I bought the R3, which is typically under $40. Shanty 2 Chic wholeheartedly recommends the K5, and I seriously want this awesome looking, completely insane Kreg Foreman, but, realistically, the little R3 has done an incredible job for me at a minuscule upfront cost. The concept is what's amazing. I knew that there was a special way to join pieces of wood together to make furniture (we've all seen those little diagonal holes with the hidden screws that you have to tighten when your chairs get wobbly), but I hadn't the slightest idea that the technology was (a) available to the general public, (b) so easy to do, or (c) useful for so many things besides keeping chair legs from falling off!

Kreg also makes these handy face clamps for holding the Kreg jig on, which I love, but I also made use of some old and awesome spring clamps that my father-in-law gave me years ago (come to think of it, he also gave me the drill I'm using in these pictures - an old Makita that just works).

You drill a hole, which the Kreg jig and its special bit precisely control the location and depth of, and then screw a special washer head pocket hole screw into the hole, which locks the pieces of wood together tightly, and without scarring the surface of your project.
The flexibility of placement with the Kreg jig really came in handy building the legs of this table, as you can see here. I wouldn't end up using these holes until quite a while later, when I was actually fastening the legs to the finished top!

This angle shows the finished holes a bit better. As a total novice, this is where having fantastic plans to work from is absolutely invaluable. At this stage in the game, I was still pretty far from being done. There was the center beam to work on, lots of sanding to do, staining, polyurethane to apply, and more! But here I was, drilling the holes that would eventually connect everything together. Frankly, I probably would not have been thinking that far ahead on my own...

You're supposed to cover the wood screws in the leg supports with filler, but Chels and I both agreed we liked the rustic look of the exposed screws in that particular spot. I should warn you - these legs are pretty heavy!
Amazing what a little stain does for these beefy legs!

After we saw how big the table was (7.5 feet long - we had measured ahead of time, of course, but seeing it in the room really gives you a much better sense of its size), we decided that a bench along one side would be perfect for the kids. Luckily, there's a plan for that, too.

Oddly, I found the bench more challenging than the table! The working space is a lot tighter, and I made at least one major amateur mistake: I didn't measure as I went along for the trim. By the time I'd discovered what I had done by measuring everything ahead of time and just assuming that all wood is exactly as wide as it's supposed to be, I had some decent sized gaps on one end that it was too late to fix. Naturally, no one notices but me...but I notice. Every time. Measure as you go!

Truly, I feel like this is a project that anyone could (and should!) take on. It requires some time, of course, and some elbow grease (lots of sanding and clamping), and a bit of patience (not my strong suit - waiting between coats of polyurethane drives me crazy!), but it's quite worth it. The finished product is not only a lot more table than we would probably ever be able to afford to buy (and a lot better quality - this thing is solid), it's a lot more personal. You built it from raw lumber with your own hands, you chose the stain and the finish, and, yes, you made the mistakes that give it its character.

We've been eating at this table now for about nine months, and it's held up perfectly. It's easy to clean off when one of the kiddos (I'm looking at you, Eden and Christian!) spills something on it, and you can seriously cram about five people on that bench if you really have to (like the table, it's a full 7.5 feet long!). Both pieces are incredibly solid - no wobbles or creaks whatsoever.
There are a few more projects we hope to share with you in the coming months (the wood ceiling in these pictures among them). If you enjoy the posts and we decide to keep experimenting, I'll need to get better at photographing rooms - we eventually got a handle on food photography, but a whole room is incredibly different - something to work on! (I thought about removing the booster seat and the cat from these pictures, but, hey, that's what our dining room actually looks like!)
If you've wanted to try a project like this, but didn't feel experienced enough, I hope we can encourage you to give it a shot. We found it to be a total blast! Maybe you'll love or maybe you won't - but you won't know until you try!

For another fun take on the farmhouse table, and an amazing step-by-step tutorial, you can also check out this one from Saws Hub. Simpler design, and a beautiful finish on top!
In case you missed the links above, here are the links to Shanty 2 Chic's plans:
If you like any of the decorative pieces in this picture:
- The chandelier is from Lowe's
- The table runner is from Williams-Sonoma
- The plants, pots, and large white-framed pictures are from Ikea


[…] did you all enjoy our new DIY post from Saturday? Since the fall, we’ve been dabbling in home improvement projects – […]