Festive touches for the holidays don’t get much easier or cheaper than these cute little trees in this $4 DIY cedar planter!
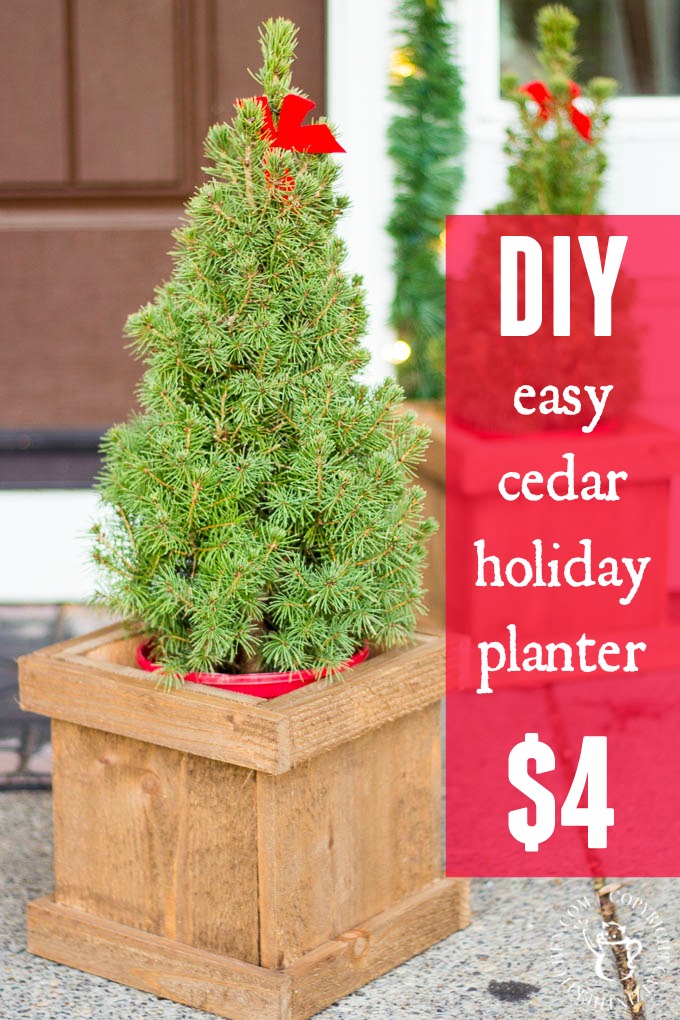
This is one of those insanely simple DIY projects that many of you probably would not need any kind of tutorial to make (if you were to chose to make it, of course). But…that’s one of the reasons I like it so much. Some of the DIY projects we’ve been tackling (or contemplating tackling) lately are pretty involved affairs involving lots of wood, many tools, and lots of weekends and evenings! This one…
More like $4, one board, and half an hour.
It’s a blank slate, of course. If you’re the creative type, I foresee snowflakes, lights, and ribbon taking this planter and its humble denizen up quite a few notches on the decorative scale. Because this is just a planter. I guess, realistically, you need add the Christmas to it!
Chels and I were at Home Depot (I used to kid my father-in-law about all the time he spent there…now I understand), and as we walked in, she saw all the little live evergreen trees for sale by the entrance. Some were quite decked out, but most were humble affairs – little, green, environmentally-conscious Christmas decorations that don’t need to be thrown out and replaced every year (if you live in the Northwest, I suppose). Chels got very excited by these cute little trees in cedar planters. They were well-built (the planters, that is), but not very large, and very simple. Next to them were slightly humbler (i.e., smaller) trees in red plastic pots. Besides a minor difference in height and the cedar planter itself, the biggest difference was the price.
With cedar pot? $80. Without cedar pot? $9.
Not knocking Home Depot here – they had to have those cedar planters built, strap them with metal bands, fill them with extra soil, etc. Okay, they were decorated a bit, too… But I wasn’t spending $80 on a decorative evergreen tree the size of my three-year-old son (and I certainly wasn’t spending $160 on two of them, which is what Chels wanted…). So, naturally, I told Chels that she was welcome to grab a couple of the $9 trees, and I’d put together a couple of cedar planters myself for quite a bit less than the $142 difference in play here.
As I said, this DIY cedar planter is an incredibly simple project, but I did try to make it even more economical by using a single cedar fence panel. To do this, it’s easiest to use a table saw, but you could also do it quite easily with a sliding miter saw (or even a skill saw, though that might be challenging with such thin cuts). If you would prefer to stick with simple cuts across the board (lame pun alert), you’ll want to grab an additional thin board for the trim – one of the pine 1x2s Home Depot sells for about $1 would work just fine.
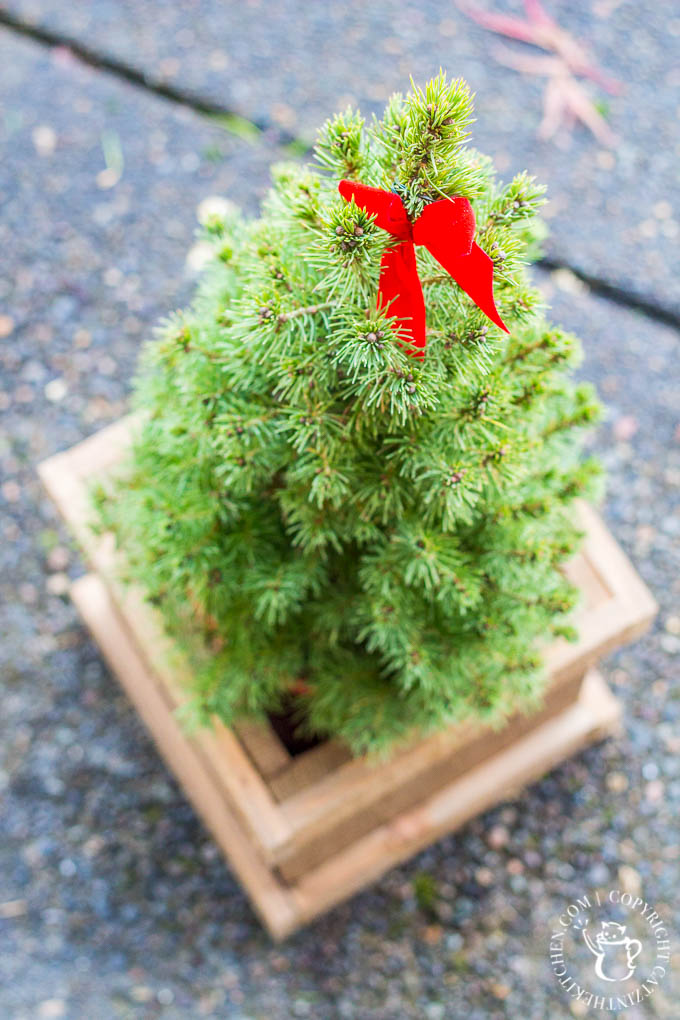
So, besides finishing nails and outdoor wood glue, what’s the materials list for this little project?
A single six foot 1×8 unfinished cedar board.
Western red cedar seems to be the most common, and although it produces an outrageous amount of sawdust, it does smell wonderful and doesn’t seem to crack easily, so I’m a fan (we used the same rot-resistant, insect-resistant wood in these window boxes). It’s also cheap – under $4 at our Home Depot (and about the same at Lowe’s).
So, if you want to build these simple little guys and don’t need a tutorial, stop reading now. Actually, you should have stopped reading awhile ago. Otherwise…read on! Pardon the graininess of these photos – shooting after dark in the garage requires high ISO!
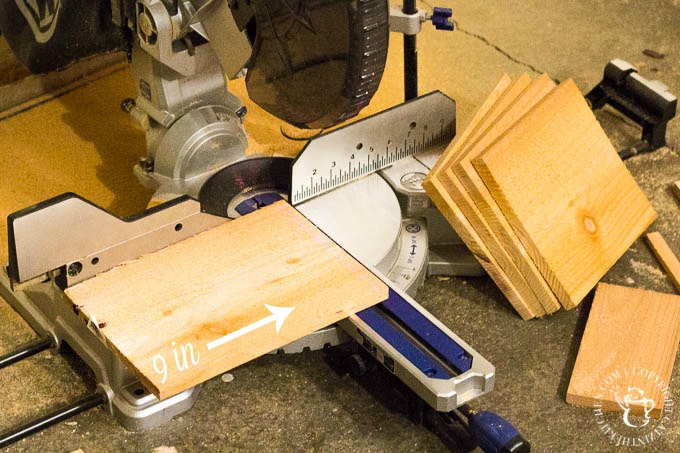
Start by using a miter saw to cut four nine inch lengths out of the cedar plank. This will use up half of your six foot board, of course, but it’s also the majority of the surface area of the planter. See what I mean about the cedar sawdust? Must be something you can do with this stuff…
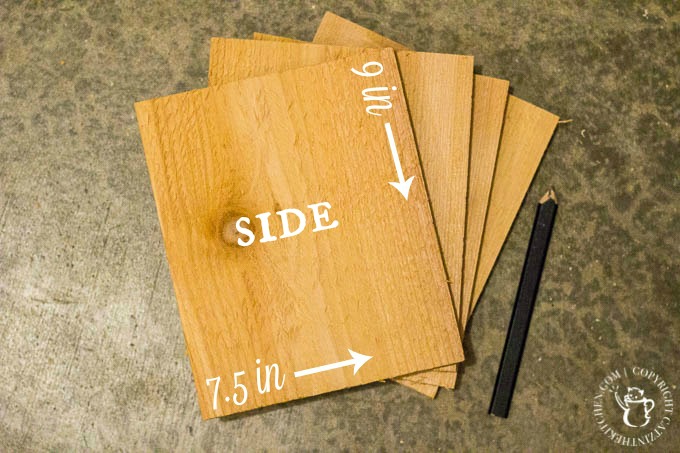
You’ll end up with with four pieces of cedar that measure 9 in x 7.5 in (still confusing to this amateur that 1x8s are only 7.5 in wide…). These are your sides.
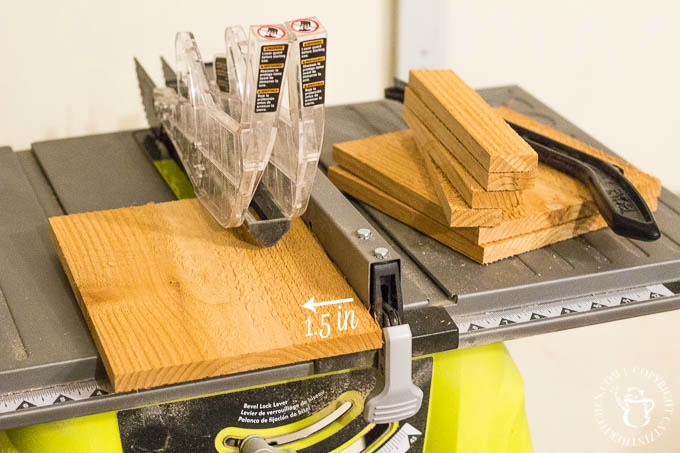
For the trim and the bottom, I found it easiest to use a table saw, but, as stated above, there are a few ways you could make these cuts. You’re going to need to cut three more lengths off your cedar board first using the miter saw – 7 in, 8 in, and 9 in.
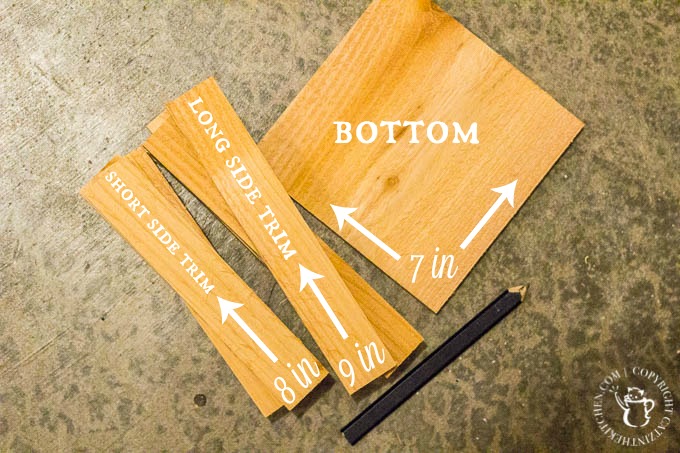
For the 7 in length, you’ll need to trim 1/2 in off the width to make it 7 in square (this is the bottom). For the trim pieces, both the 8 in and the 9 in pieces need to be cut into 1.5 in widths. Each length should yield four 1.5 in wide pieces with a bit left over (you’d think there would be five, given the 7.5 in width of the cedar plank, but the saw blade eats up a bit, too – I refer you to my comments about all of that cedar sawdust!). My cedar plank was about 1/2 in thick – if yours is thicker, you’ll need to measure as you go and make a few adjustments along the way. You may find yours closer to 5/8 in thick, at which point I would definitely recommend measuring and cutting as you go – you’ll have an extra 1/8 or 1/4 in here and there.
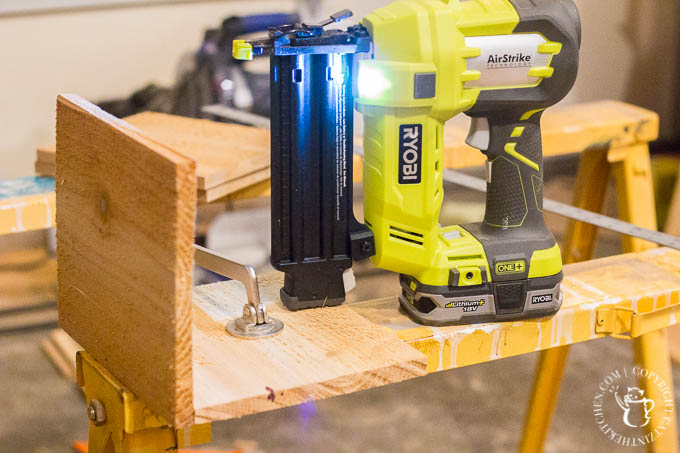
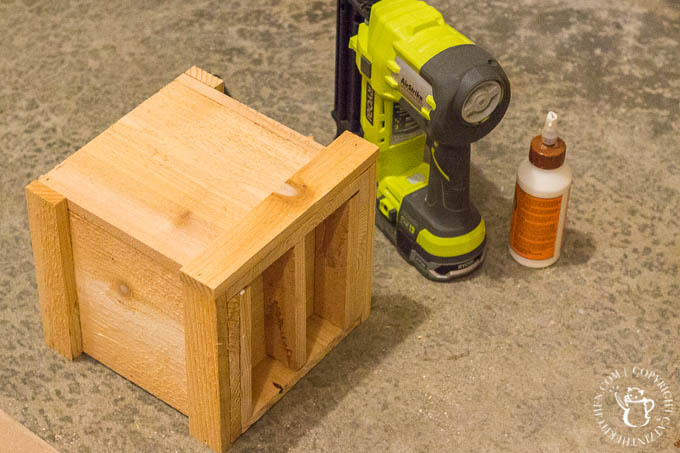
Putting the sides together can be accomplished a variety of ways, but I found it easiest to just clamp one side down, run a bit of Gorilla wood glue along the edge, hold the next piece up, and sink a couple of finishing nails into it. If you have a nail gun, great – if not, it will take a little longer, but you should be able to gently hammer them in. Also, I get nothing from Ryobi for saying this, but that cordless nail gun is my absolute favorite tool, bar none.
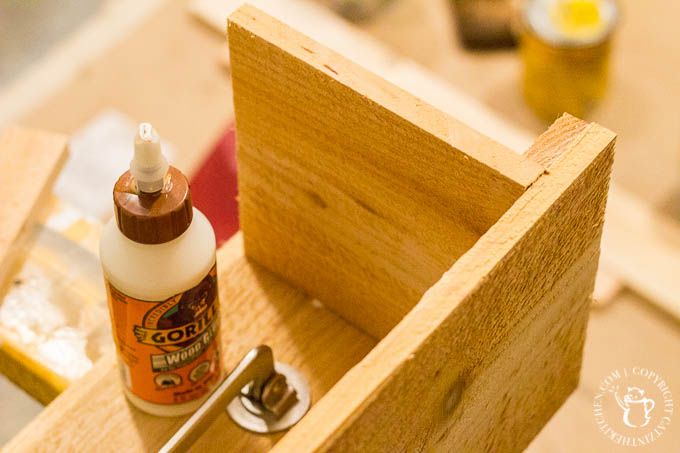
You should have about 12 in of cedar board left. I used mine to make a couple of little extra support pieces for the base – these are just a little under 7 in long, and you can just cut them to fit. I made mine roughly 1.5 in wide, and they help support the bottom, which you’ll want to elevate above the ground just a bit so it can drain properly. Once you have the first two sides together, you can go ahead and mount the bottom in there, which will help keep the planter square while you add the remaining sides.
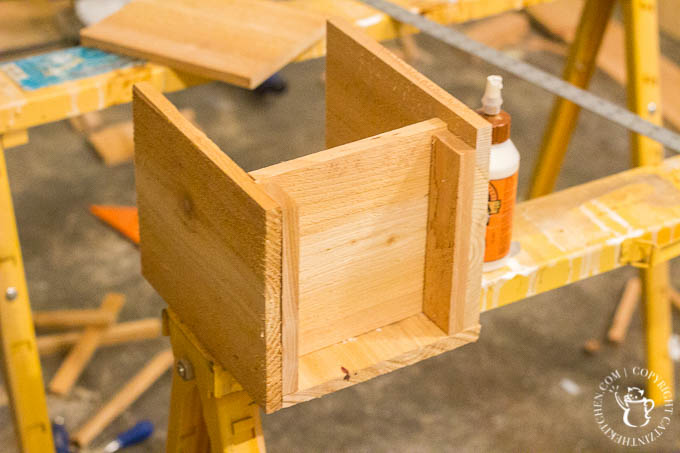
Note that the sides all have one overlapping edge and one exposed edge, all the way around, which is how the box ends up being 8 in square.
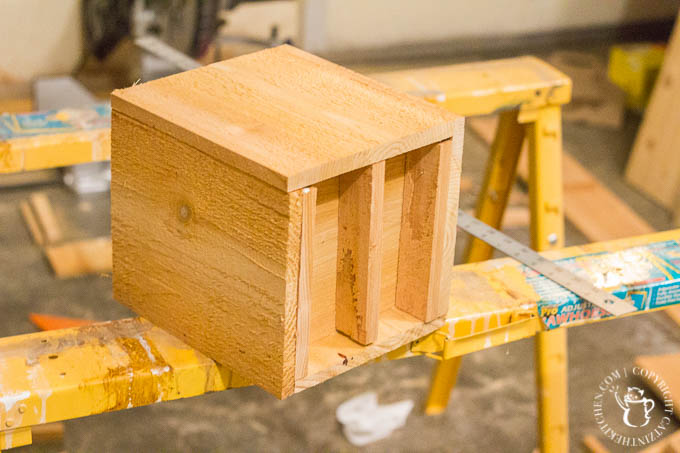
I used three of those little cedar supports in the base of my planter, though truthfully the little trees are not very heavy! At some point, though, they may get used for something else, and I don’t want the bottom to be lacking in strength!
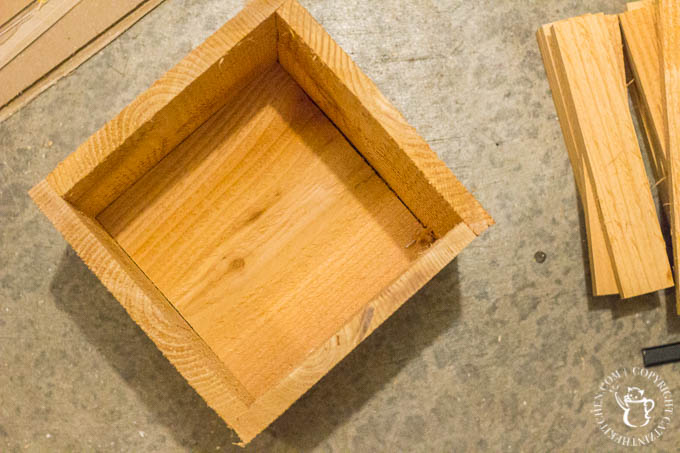
Here’s a quick view from the top that clearly shows the overlapping side pattern.
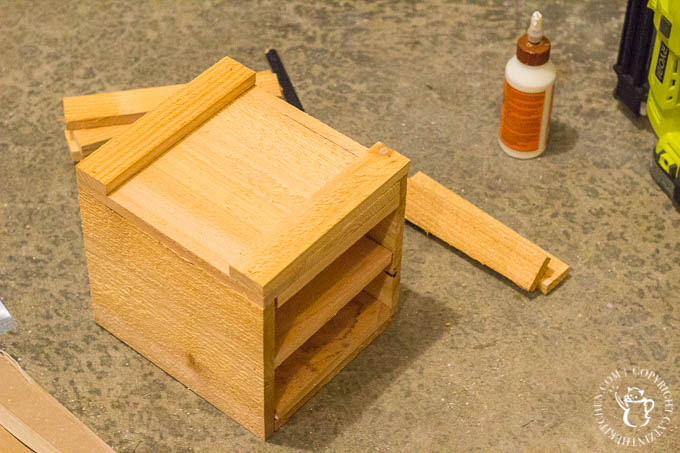
When your box is done, you’re ready to add some trim! You’ll want to put on the 8 in pieces (short side) first, as they should run flush with the edges of the box. Just two nails apiece should be plenty – once the glue is dry, it will be much more effective at keeping the pieces together than the nails would be anyway.
Once your 8 in trim pieces are on (opposite sides, of course), it’s time to finish it off with the 9 in (long side) pieces. If all the measurements came out right, they’ll run flush with the edges of the 8 in pieces.
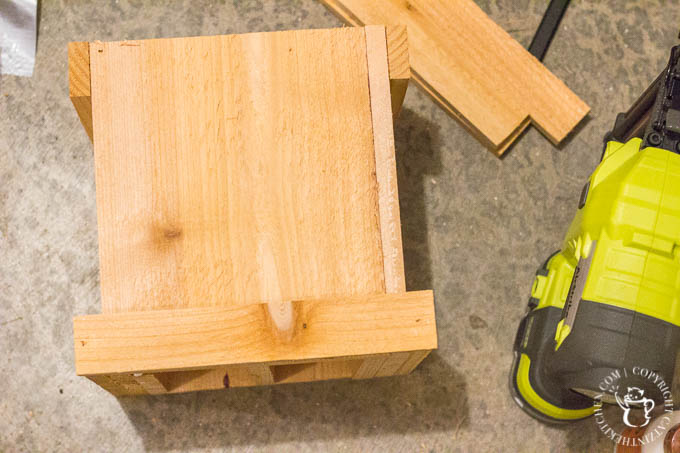
The trim isn’t just decorative, it also helps keep the planter box square and strong! Also, don’t forget to drill a couple of holes in the bottom for draining!
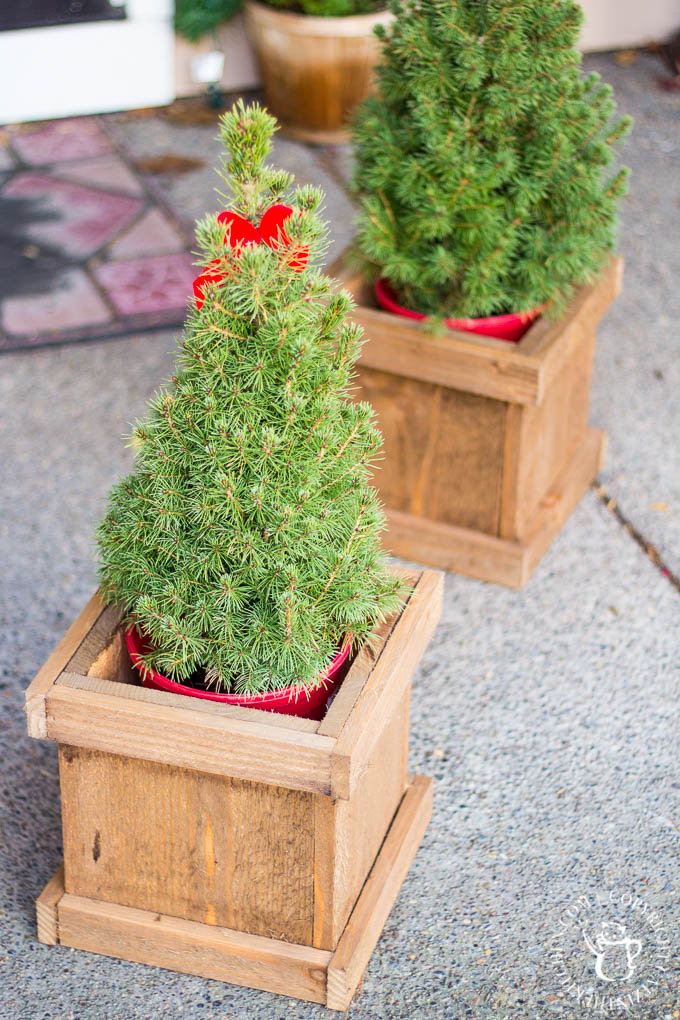
You can leave your planters natural, if that works with your decor. Chels wanted a slightly darker tone to the wood, so I gave ours a quick coat of outdoor wood stain. Raw cedar soaks that stuff up! As you can see, we also left our trees in their little red pots, which will help the planters last even longer, but you could certainly fill the planters with earth and plant the trees directly.
As promised, projects don’t get much simple than this DIY cedar planter. It’s a cute, simple Christmas touch on our front porch, and we love it!

Weekly Menu For The Week Of Nov 28th - Catz in the Kitchen
Monday 28th of November 2016
[…] How about you guys? In case you’re all still in decorating mode, make sure you check out Josh’s quick DIY post on these cute little cedar tree planters for SUPA CHEAP! (“supa cheap” = […]
Penny
Saturday 26th of November 2016
I really like how they turned out. Thank-you for sharing your festive project, it will be one you will be able to enjoy for years to come.