Weekly Menu 5/30-6/5
I am tired! I know I haven’t posted much online this week because I was just kind of to tired to do so. Saturday, we had Grace’s 7th birthday party …
I am tired! I know I haven’t posted much online this week because I was just kind of to tired to do so. Saturday, we had Grace’s 7th birthday party …
*sigh*What a week! I think everything is slowly starting to return to normal again. We had a great week, we got to see family and some friends we haven’t seen …
Okay, one insanely busy week down, one more to go…! I was going to get online last week and post a blog about Gracie’s birthday and what I made her …
I hope you all had a wonderful Mother’s Day! My mother’s day started out with my littlest baby girl not feeling to good. But after a couple of hours she …
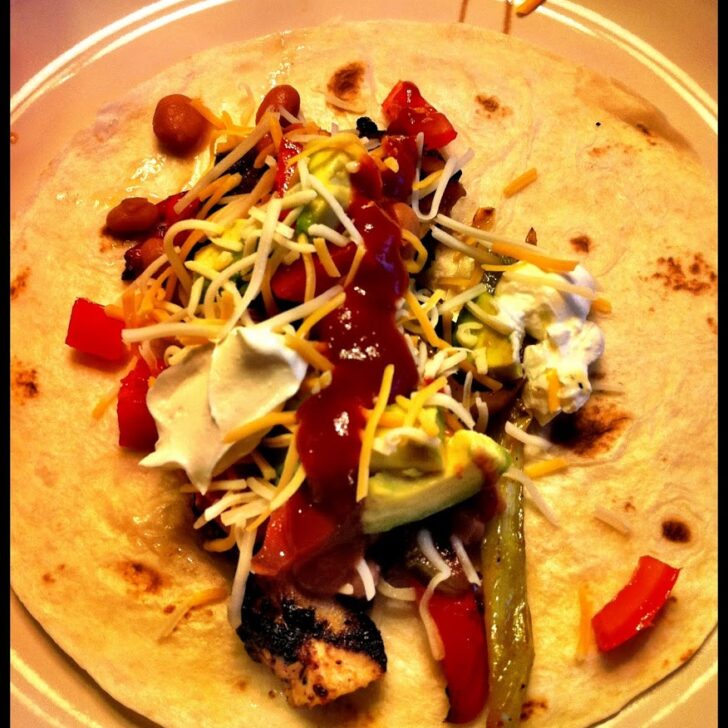

Happy Cinco de Mayo everyone!! Josh and I celebrated Cinco de Mayo a little bit early yesterday. The weather was beautiful, warm, and the perfect evening for grilling. One of …
I do have a menu…but it’s sort of scatter brained right now. I worked on it Monday after we got home from the beach and I have a feeling we’ll …